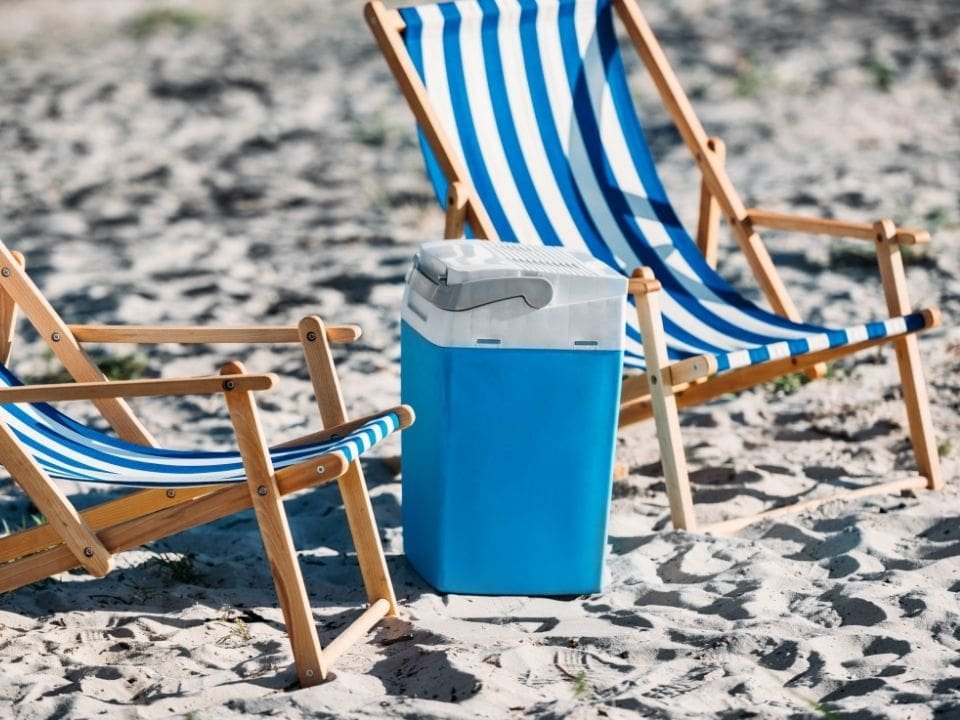
A cooler is an important piece of gear for any road, camping, or overlanding trips. With a reliable cooler, you don’t have to worry about your frozen food items spoiling without refrigeration.
And nothing beats having a cold beer during a hot summer day, while relaxing by the beach or in your tent.
However, coolers are only as good as how you pack them. If you don’t pack your cooler properly, you will not get the most of this gear, or worse, you may compromise the safety of your food items and end up with food poisoning.
Importance of Packing Your Cooler Properly
Aside from keeping your foodstuffs and drinks cold to retain their quality, here are the top reasons why you should know how to pack a cooler the right way.
- 1) It will ensure that food will stay colder and safer to consume.
- 2) Fluctuations in temperature, more specifically from being frozen to warm, create an ideal environment for harmful bacteria to thrive.
- 3) You don’t want to ruin your trip with a case of poisoned food.
- 4) Organizing your cooler makes it easier to find everything faster.
- 5) Everyone would probably agree that rummaging under the ice to find a particular food supply or drink is no fun.
- 6) If you properly packed your cooler and kept it organized, finding a thing or two will be a lot easier.
If you’re convinced that knowing how to pack a cooler the right way is indeed beneficial, you may check out our tips. These are tried and tested tips by many campers.
Follow These Steps Before You Pack a Cooler for Camping
1. Pre chill your camping cooler ahead of time.
You need to pre-chill your cooler ahead of time. If you have access to a big freezer, chill your cooler the night before your trip.
A cold cooler will keep the ice longer. Alternatively, if you don’t have a big freezer, you can place your cooler in the coolest part of your house.
As much as possible, do the pre chilling at least 12 hours or one day before your trip.
And to really lower the temperature of the cooler, you could fill it with a bag of sacrificial ice. Make sure to remove this ice before you pack the cooler.
2. Prep your food.
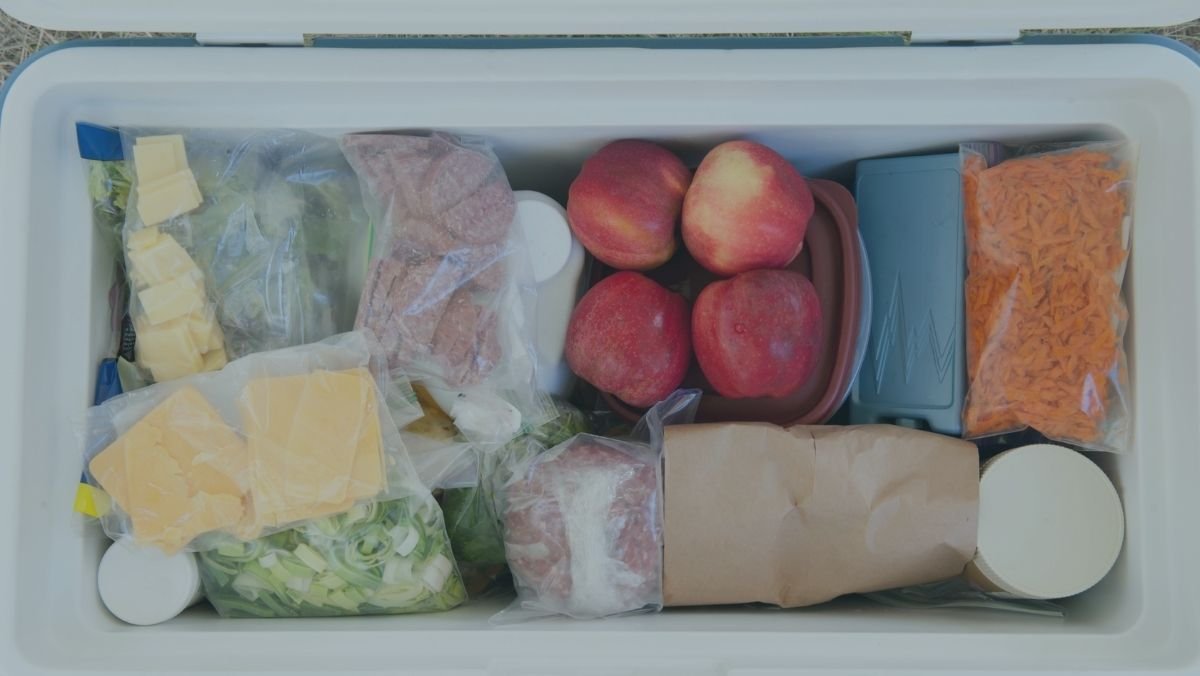
Before you pack a cooler, make sure to prep your food in advance as it will help you save space and make room for extra ice. For vegetables, it would be good to chop them in advance.
Divide your meat into cooking portions, and make sure to also remove excess store packaging as they take up a lot of space. There’s no need to bring a dozen eggs if you only need a few.
3. Pack food into leak-proof containers.
For food items that are not in resealable packaging, transfer them to leak-proof containers. This is important to avoid having your food getting mixed up with melted ice water.
If you want to play it safe, consider transferring food in resealable containers to a Ziploc bag or leak-proof container.
Many of you probably experienced getting a bunch of soggy tortillas and other similar food items after putting the resealable packaging back to the cooler.
You can’t be 100 percent sure unless you use a trusted leak-free container or packaging.
4. Freeze your food items.
Avoid packing food at room temperature. Frozen food will double as ice packs and they will just slowly thaw in your cooler. The same goes for juices, water bottles, and even non-carbonated drinks.
So before you pack a cooler, you should freeze your food, especially meat, except for anything you will be cooking on your first day.
For other items that are not being frozen, instead of leaving them at room temperature, refrigerate them before you pack a cooler.
Anything that goes inside your cooler should already be frozen or cold. Otherwise, you will waste ice to cool things down.
Ice Selection
The best way to pack a cooler for camping involves using the right type of ice. The type of ice you use when you pack a cooler also matters, as different types of ice greatly vary in terms of melting time.
Block Ice– Solid ice blocks take more time to melt than ice cubes so they help keep your food and drinks cooler for more days. Place them at the bottom of the cooler and also on top.
If a block of ice is hard to find in your area, you can also make your own by freezing water in a tray or baking pan.
Ice Cubes – Although ice cubes melt faster than block ice, they are excellent at filling in the gaps or spaces between your food and drinks.
Dry Ice – Dry ice is a great choice for extra-long road or camping trips, but you have to be extra careful with this one as it is extremely cold and it will freeze everything. Don’t use it unless you know how to handle it.
8 Pro Cooler Packing Tips
As food and drinks are essential in any camping trip, knowing how to pack a cooler can greatly improve your overall experience.
It’s important to note that packing a camping cooler should be the last task you do before walking out the door. Here are some of the pro tips on how to pack your cooler efficiently:
1. Use the right kind of ice.
Using the right kind of ice can make your contents stay cool for a longer time. Ice is not created equal. For instance, a commercial freezer generally produces cooler ice than home refrigerators.
The ideal combination for more efficient cooling is dry ice mixed with ice cubes. While cubed ice melts faster, it’s great at cooling your contents faster.
Dry ice, on the other hand, lasts longer so it will sustain the contents of the cooler for days.
It’s important to note though that dry ice is extremely cold and may crack cheaply made plastic camping coolers.
So before using this kind of ice, you need to check your cooler’s manual first.
2. Add a liner to keep the heat out.
One of the best ways to keep camping coolers cold during a road or camping trip is to keep the heat out. One way of doing this is by adding a lining of thermal bubble wrap around the interior.
You can also use aluminum foil as an alternative. Both the bubble wrap and aluminum foil are great at keeping the heat out.
3. Put a block of ice at the bottom of the cooler.
Layer a block of ice on the bottom. Before putting the block of ice in, place it in a trash bag or Ziploc. Doing so will slow down water leakage when the ice melts.
On top of the block of ice, add a layer of cardboard or milk crate before adding in your food and drinks. This barrier will keep the food from being soggy.
4. Pack foods in layers.
When packing foods and drinks, keep them in several layers with ice in between the layers. You could add the frozen water and drinks that you will not be needing on the first or second day of your trip at the bottom layer.
Add ice on top then arrange your frozen and well-sealed meat. Add ice again, then you can add all those sealed containers and packages.
Place a layer of ice once more, then at the topmost section, load your delicate foods such as vegetables and eggs.
5. Pack food vertically as much as possible.
Another good way to pack a cooler is to arrange the items vertically. A vertical arrangement allows you to easily find what you are looking for without digging through the cooler.
This applies to dry items. However, for containers with liquid, it’s best to arrange them horizontally to avoid leaks. When packing horizontally, first place the last day’s food supply and then work in reverse order.
6. Avoid having air gaps.
Any air space inside the camping cooler can accelerate the ice melt. To prevent pockets of air, you could fill the empty space with paper towels or newspapers, or if you don’t mind the extra weight, fill the gap with as much cubed ice as you can.
7. Map out what’s inside.
If you have a large cooler, mapping out your contents will easily help you find everything. This will also minimize opening your cooler for a long time as you try to scramble to find what you are looking for.
It is important because as the air gets inside the cooler, it will make the ice melt faster. You don’t want that to happen, especially if you don’t have access to the ice where you are located.
To easily map out your food contents, you could arrange them per food type such as one section for meat, condiments, vegetables, and drinks. When you know where things are, you can find everything far more efficiently.
8. For trips that will extend for more than a week, consider bringing two coolers.
For many, a camping trip is not complete without ice-cold beer. Beer will also take up more space in a camping cooler, and additionally, campers open their coolers more frequently to get beer than foodstuffs.
We want to minimize opening the box as it will make the ice melt sooner. If you have two coolers, it’s best to separate the beer from the rest of what you will be bringing.
Aside from knowing how to pack a cooler the right way, there are also best practices that can help prevent the ice from melting faster and allowing your cooler to stay colder longer.
These best practices work hand in hand with the pro tips of packing a cooler.

Best Practices When Using a Cooler
As a bonus, we also listed some of the best practices that can help keep your camping cooler stay cold longer.
Keep your cooler in a shaded area.
Once you arrive at your destination, find the best place for your cooler. It should be in a cool and shaded area, away from direct heat.
This will help retain the ice longer. If there’s no shaded area, cover the cooler with a colored towel or blanket at all times.
Minimize opening the cooler.
Opening a cooler on a hot day is a major ice killer. Cool air is replaced by warm air, which melts ice faster. Think of it like opening your refrigerator door.
Grab what you need for everyone each time you access your cooler, to minimize cooler trips. This will retain your ice as long as possible.
The more air gets into your cooler, the faster the ice will melt, and the sooner your food and drinks will start to warm up.
Try to minimize the number of times you open the cooler: for example, retrieve everything you need to prepare dinner at once and then quickly close the cooler.
Know when to drain and not to drain.
For many campers, the rule of thumb is to only drain water on long camping trips. If your camping trip is just a day or two, don’t drain. For shorter trips, melted ice can keep your food extra cold.
However, since melted ice will cause the remaining ice to melt faster, you can preserve your ice blocks for the next several days by draining the cooler.
However, there are a few exceptions:
- 1) If you have access to new ice, drain the water regardless of how long your trip is.
- 2) Don’t add new ice to your ice water as it will melt ice faster.
- 3) If something spills in the cooler, drain the water.
- 4) You don’t want your sauce or cream to cover everything in your cooler.
Cooler guides you may be interested in:
Takeaways
Choosing the best cooler for your specific needs is just one part of the experience. The other part is packing your cooler to maximize space and to retain ice longer so that your foodstuffs will also stay cold for the duration of your trip.
When packing a cooler for your overlanding or camping trip, don’t just dump everything into the cooler.
There are tips and tricks that can help you optimize the use of this important gear so that during your next trip, you already know what to do.


