While do-it-yourself projects can prove to be difficult and challenging at times, the joy that comes from figuring it out on your own far outweighs the challenges.
For those of you who have been a DIYer for some time now, you are aware of more than just the financial benefits that are gained from learning how to be self-sufficient. However, many of you may find it difficult and challenging to embrace the lifestyle of a DIYer.
Have no fear, I have both groups of people in mind and have put together a helpful guide on how to make a DIY mechanic’s creeper that even the beginner can find useful.
A creeper like this can set you back $30-$80 – Making your own is easy and fun
What Is A Creeper?
A creeper is a handy tool that is designed to help someone who wants to work on or inspect his vehicle. Specifically, a mechanic’s creeper is a device that you can lay on to slide smoothly and easily underneath your vehicle.
The mechanic’s creeper is built with multiple wheels to support the shape of the creeper itself and to add balance. Along with that, the wheels support the weight of the individual on the creeper.
The wheels are typically small which allows the creeper to sit low to the ground. This will allow you to fit underneath the majority of vehicles.
The creeper also creates a comfortable bed for you to lie on while inspecting your vehicle. In addition, it relieves pressure on your back and protects you from injury.
It also adds an element of safety as you are able to smoothly transition in and out from underneath a vehicle.
It is also a relatively inexpensive item to make on your own if you already have the tools on hand.
Advantages Of Making A Creeper On Your Own
For those of you who have spent time learning how to construct items on your own or to fix things when they break, you know the pleasure that can be had in accomplishing these various tasks.
This can lead to a sense of confidence in daily life that many do not have the opportunity to enjoy. It is truly a relief not having to depend on everyone else to perform various tasks for us.
However, there are some who find this sort of lifestyle hard and foreign. Building a mechanic’s creeper is a great way to start as a do-it-yourselfer.
The task is relatively easy and can even be enjoyable (not to mention significantly cheaper than purchasing one).
This could also be a great father and son project. Often time together is hard to come by, and it can be difficult to think of ways to do it.
Great memories can be forged as a father and son go out to their garage together and build something. A lot of memories fade away over time, but times like these seem to have a lasting impression on children of any age.
Materials And Tools Needed
• (1) 12 mm plywood, 34” long x 17” wide (can be cut down to this size)
• (6-8) 1” swivel casters
• (1) small foam cushion (this will be fixed to one end of the creeper as a headrest)
• (1) pencil
• (1) jigsaw
• (1) power drill
• (1) drill bit (3/8”)
• (1) rotary rasp
• (1) regular rasp
• (1) measuring tape
DIY Creeper Step-by-Step Process
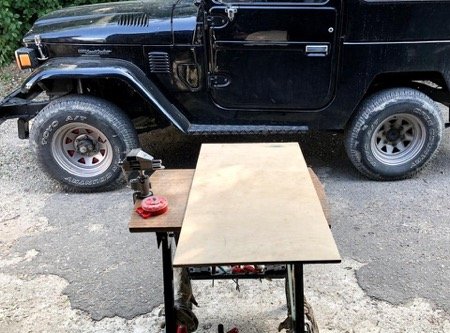
Step 1
Locate your piece of plywood and make sure the dimensions are as follows: 34” long x 17” wide x 12 mm thick.
In the event that your piece of plywood is too long or too wide, cut it down to size before you proceed.
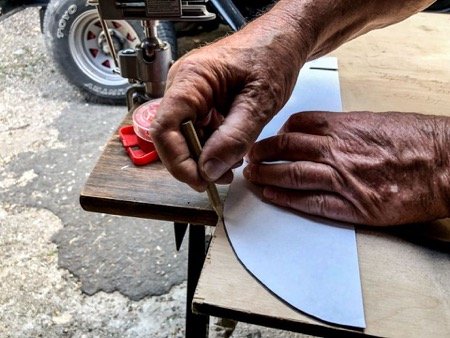
Step 2
Take your 34” x 17” x 12 mm thick piece of plywood and round out all four corners. This can be done evenly and well by placing a rounded piece of material over a corner of the plywood and tracing.
Repeat this process with the same piece of material on the three other corners to create a well-rounded look.
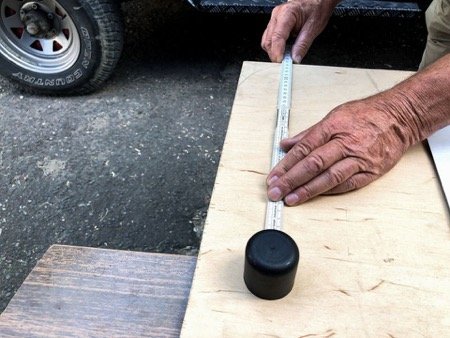
Step 3
For the handles, note the following instructions for how to draw two holes that are 6.6” long x 2” wide, and which are 3” from two edges of the piece of the plywood (one on the left side and one on the right side).
Instructions are given as though the long sides of the plywood are to the left and right, with the short sides as the top and bottom. The instructions are as follows:
- Measure 17” along the right side (long side) of the board (this will be the middle point of the long side of the board).
- From this point, measure in 3”, and mark this location.
- From this mark, measure 2” toward the center of the plywood, and mark this location.
- Now measure 1” back toward the first mark, and mark this location. (At this point, you should have three marks all in a row with 1” spaces between them. These marks should run along the center of the plywood.)
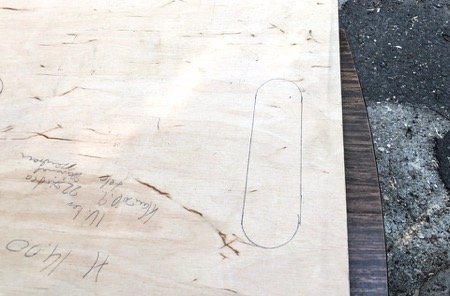
- From your middle mark, measure out in both opposite directions 3.3”, and mark both places. (This will create 4 outer points surrounding the middle mark. These 4 points will create the border of your first oval handle.)
- From the point that is nearest to the long side of the plywood, draw a straight line up the board 2 11/16”, then down the board 2 11/16”. Repeat this process for the other side of the handle (the point furthest from the long side of the plywood).
- Connect the ends of each line to the other marks on your plywood to form the outline of an oval.
- Repeat this entire process on the other side of your piece of plywood to form the other handle.
Step 4
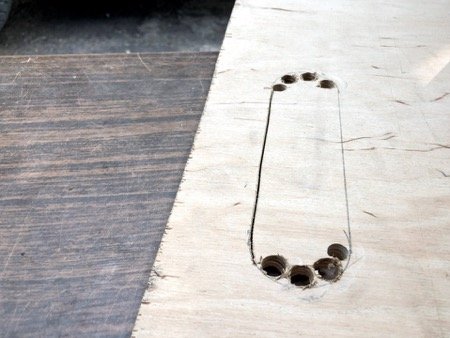
Along the inside border of your oval handle outline, drill multiple holes using your 3/8” drill bit. (These holes will allow you to use your jigsaw).
Step 5
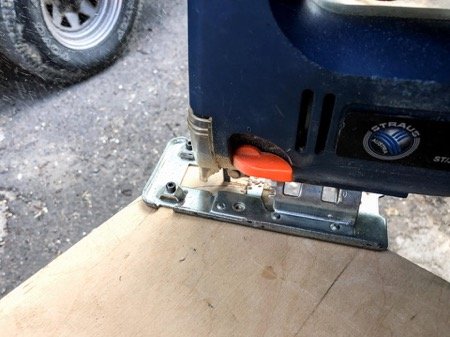
Use your jigsaw and cut along all the outlines that you have made in steps 2 and 3 (4 corners and 2 handles).
Step 6
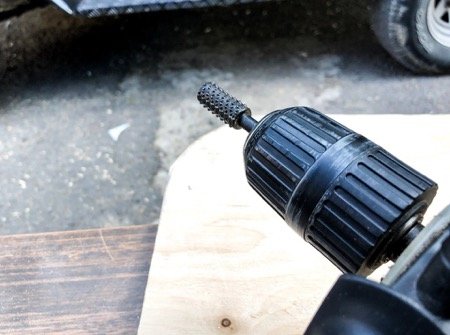
Use your rotary rasp to clean your previously cut lines and make sure they are smooth and straight.
Step 7
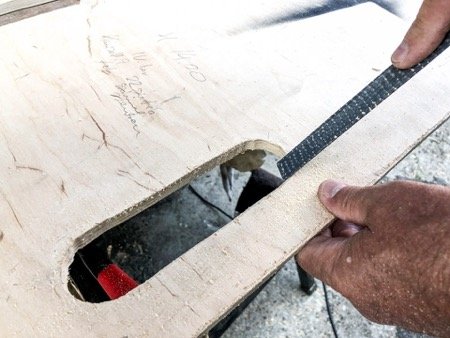
If needed, use your regular rasp for finer adjustments and to remove splinters.
Step 8
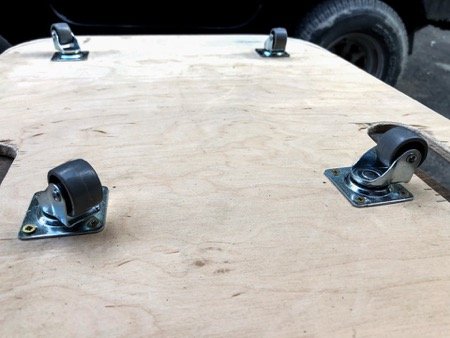
Take your 1” swivel casters and fasten them equally across the bottom of your plywood (e.g., two toward the top, two in the middle, and two toward the bottom).
Step 9
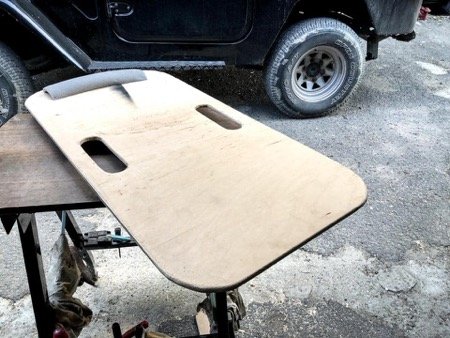
Finally, take your piece of foam and fix this to one end of your creeper.
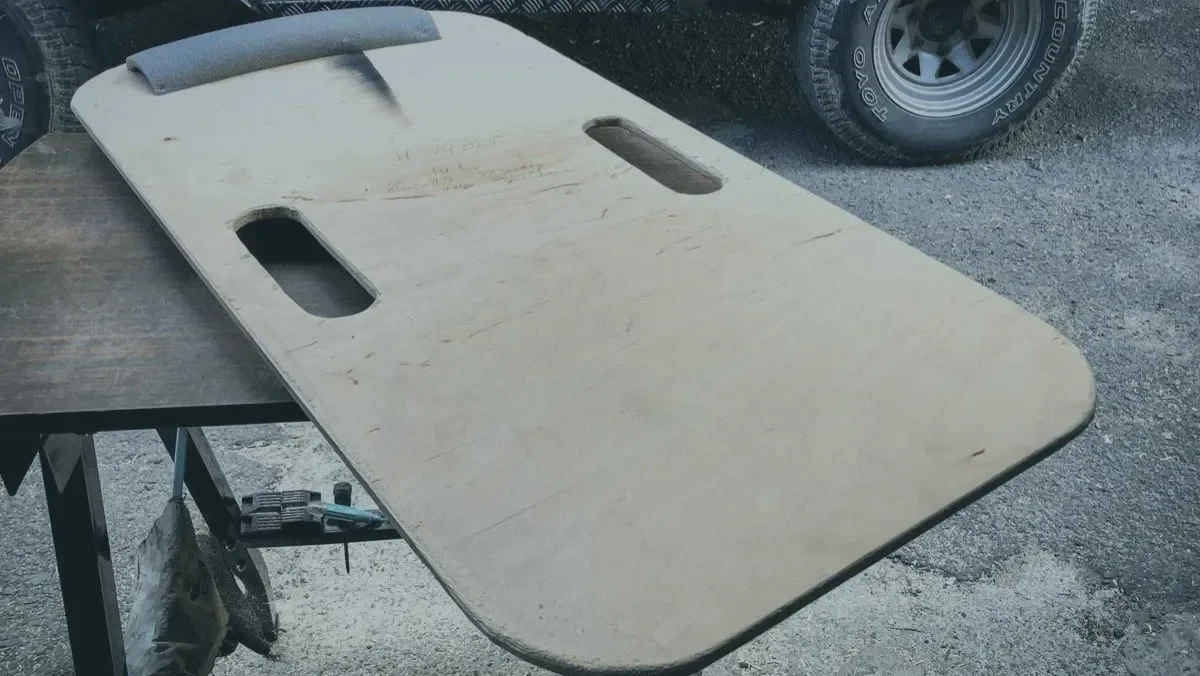
Your finished product should consist of a creeper that is 34” long and 17” wide. It should have rounded corners and edges along the outside and also in the handles to avoid splinters.
The handles should be 6.6” long, 2” wide, and 3” from the edge of the plywood.
In Conclusion – DIY Creeper
Hopefully, this guide has been helpful and will set you on your way to building your very own mechanic’s creeper. For those of you who do even minimal work under your vehicle, you will see what a great asset it is to have around.
Building a mechanic’s creeper could be a great father-son project, save you some money, or bring about a sense of excitement and joy that maybe you had been missing.

